Recreating a Dream

I was born in 1977 The same year as Star Wars, so I’ve grown up with the franchise my whole life.

My clearest memory of the original trilogy was seeing a “behind the scenes” documentary on TV one weekend showing how they did the special effects for Return of the Jedi and in particular the Endor speeder-bike chase.

Here I was – young and impressionable, watching how the most awesome movies ever made were created using what they called “models”, but to all intents and purposes for a six-year-old were TOYS!!!

My. Mind. Was. Blown!

We were never particularly rich, so while I got few Star Wars action figures for birthdays, Christmases, or as treats, I never got any of the bigger, more expensive vehicles or playsets.

Fast forward 40ish years and I’m an adult with disposable income, and a heavy dose of nostalgia who sees a 3.75″ Return of the Jedi Scout Trooper and Speeder Bike released last year.

I have a plan – I’m going to recreate my favorite movie memory!

With the modelling skills I’ve acquired over the years fizzing at the bung I set off on recreating a suitable diorama!

I order two Speeder Bikes and Scout Troopers. In an utter fluke I come across Endor Luke Skywalker and Princess Leia on sale at Farmers in Hastings. I can’t afford to get them there and then, but when I go back a few weeks later they are still there, so I buy them.

I got a clear acrylic case from The Warehouse to keep everything contained, tidy and dust-free. I print out an Endor-esque forest background onto an A4 sticker sheet and adhered it to the inside of the back wall of the display case.

I sprayed the base with a can of my modeling Tamiya Olive Drab spray paint that I used for the 1/72 Memphis Belle this year to make it look forest-ish at the very least

For the scenery I used lichen to make bushes and ground cover from Ironhorse Hobbies in Christchurch (the ground cover was kindly gotten for me by our friend Neil who drove the train I rode to Woodville five years ago.)

For trees and fallen logs I cut off bits of the tree that used to be in front of Dad’s shed before the back section of my childhood home was sub-divided.

I had used off-cuts of this tree for previous model scenes over the years, so it also keeps my old back yard alive not just in my memory.

After test-placing the speeder bikes I glued them (and the figures in places too) to make sure they stood still and didn’t fall over when the case was closed..

I added the “trees” and some logs. These would help hide the clear plastic stands that the Speeder Bikes “fly” on. I noted there appeared to be a path of some kind on the background pic, so incorporated that into the corner of the base.

Now it was just a matter of adding the groundcover and lichen bushes to cover the base and any errant gaps in the scenery that popped up.

With the glue dried, ground cover, figures and Speeder Bikes secured I put the clear acrylic case on, literally encapsulating the scene.

Job done!

While I’m not expecting job offers from Lucasfilm, or Disney for my creative effort any time soon, I was still really pleased with the result – It recreated what I saw 40+ years ago and doing so allowed me to “play” with the coolest toys from the coolest movies ever again!

May The Force be with you!

Masters of the Model Air

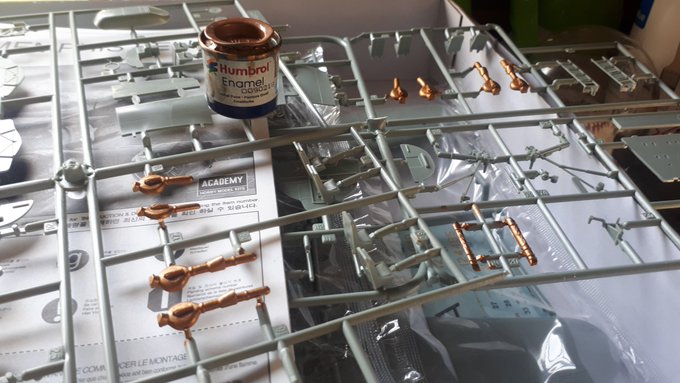
I’ve had an Airfix 1/72 scale B-17G in my unbuilt model stash for some time, having bought it from the Napier model shop Platform One just before it closed down. But when I came across a cheap kitset of the B-17F Memphis Belle I had to get it.

Now that I had TWO Flying Fortresses, and the series “Masters of the Air”, based on the story of the 100th Bomb Group in WW2, was streaming I had to build them BOTH.

I’ve been in love with the Boeing B-17 “Flying Fortress” World War Two bomber ever since seeing the movie “Memphis Belle” decades ago. It’s a beautiful aircraft!

Image

An odd thing I noticed was that despite the Memphis Belle being an Academy kit, and the B17G being an Airfix kit, the sprues were all from the exact same mold!

(As a result, there were likely Memphis Belle bits in the B-17G and vice-versa…)._

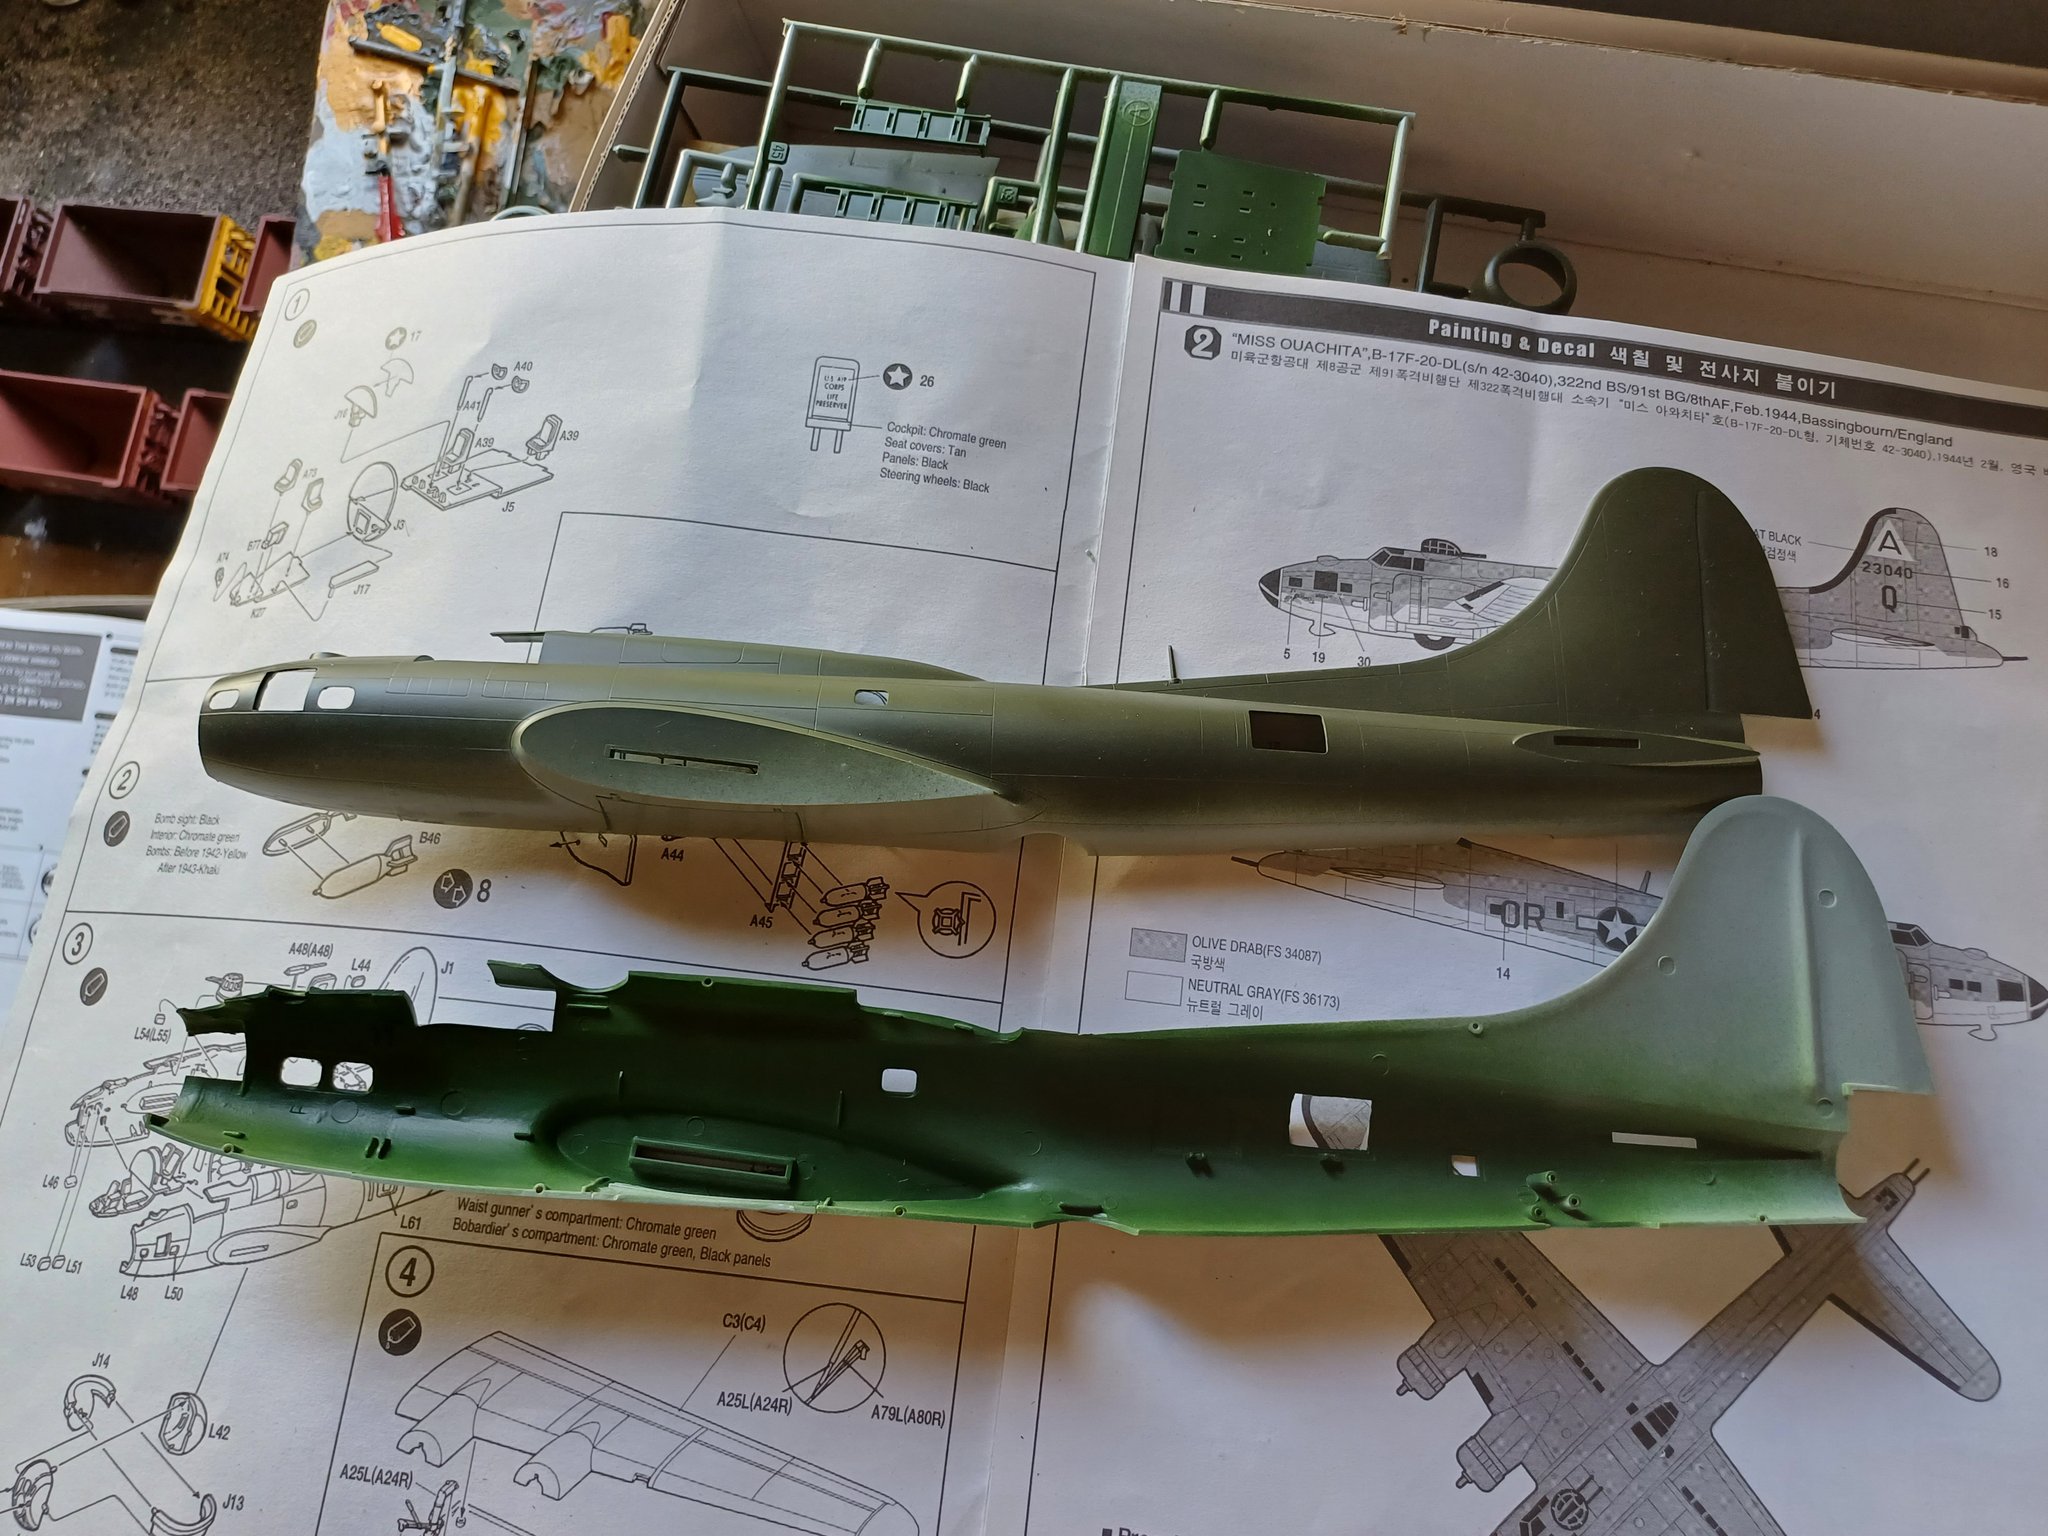
I started with the Memphis Belle:

Image

Giving the interior and exterior a liberal first / final coat to make later construction stages easier I went with “Olive Drab” top and one of my many “Sea Gray” Tamiya can sprays underneath.

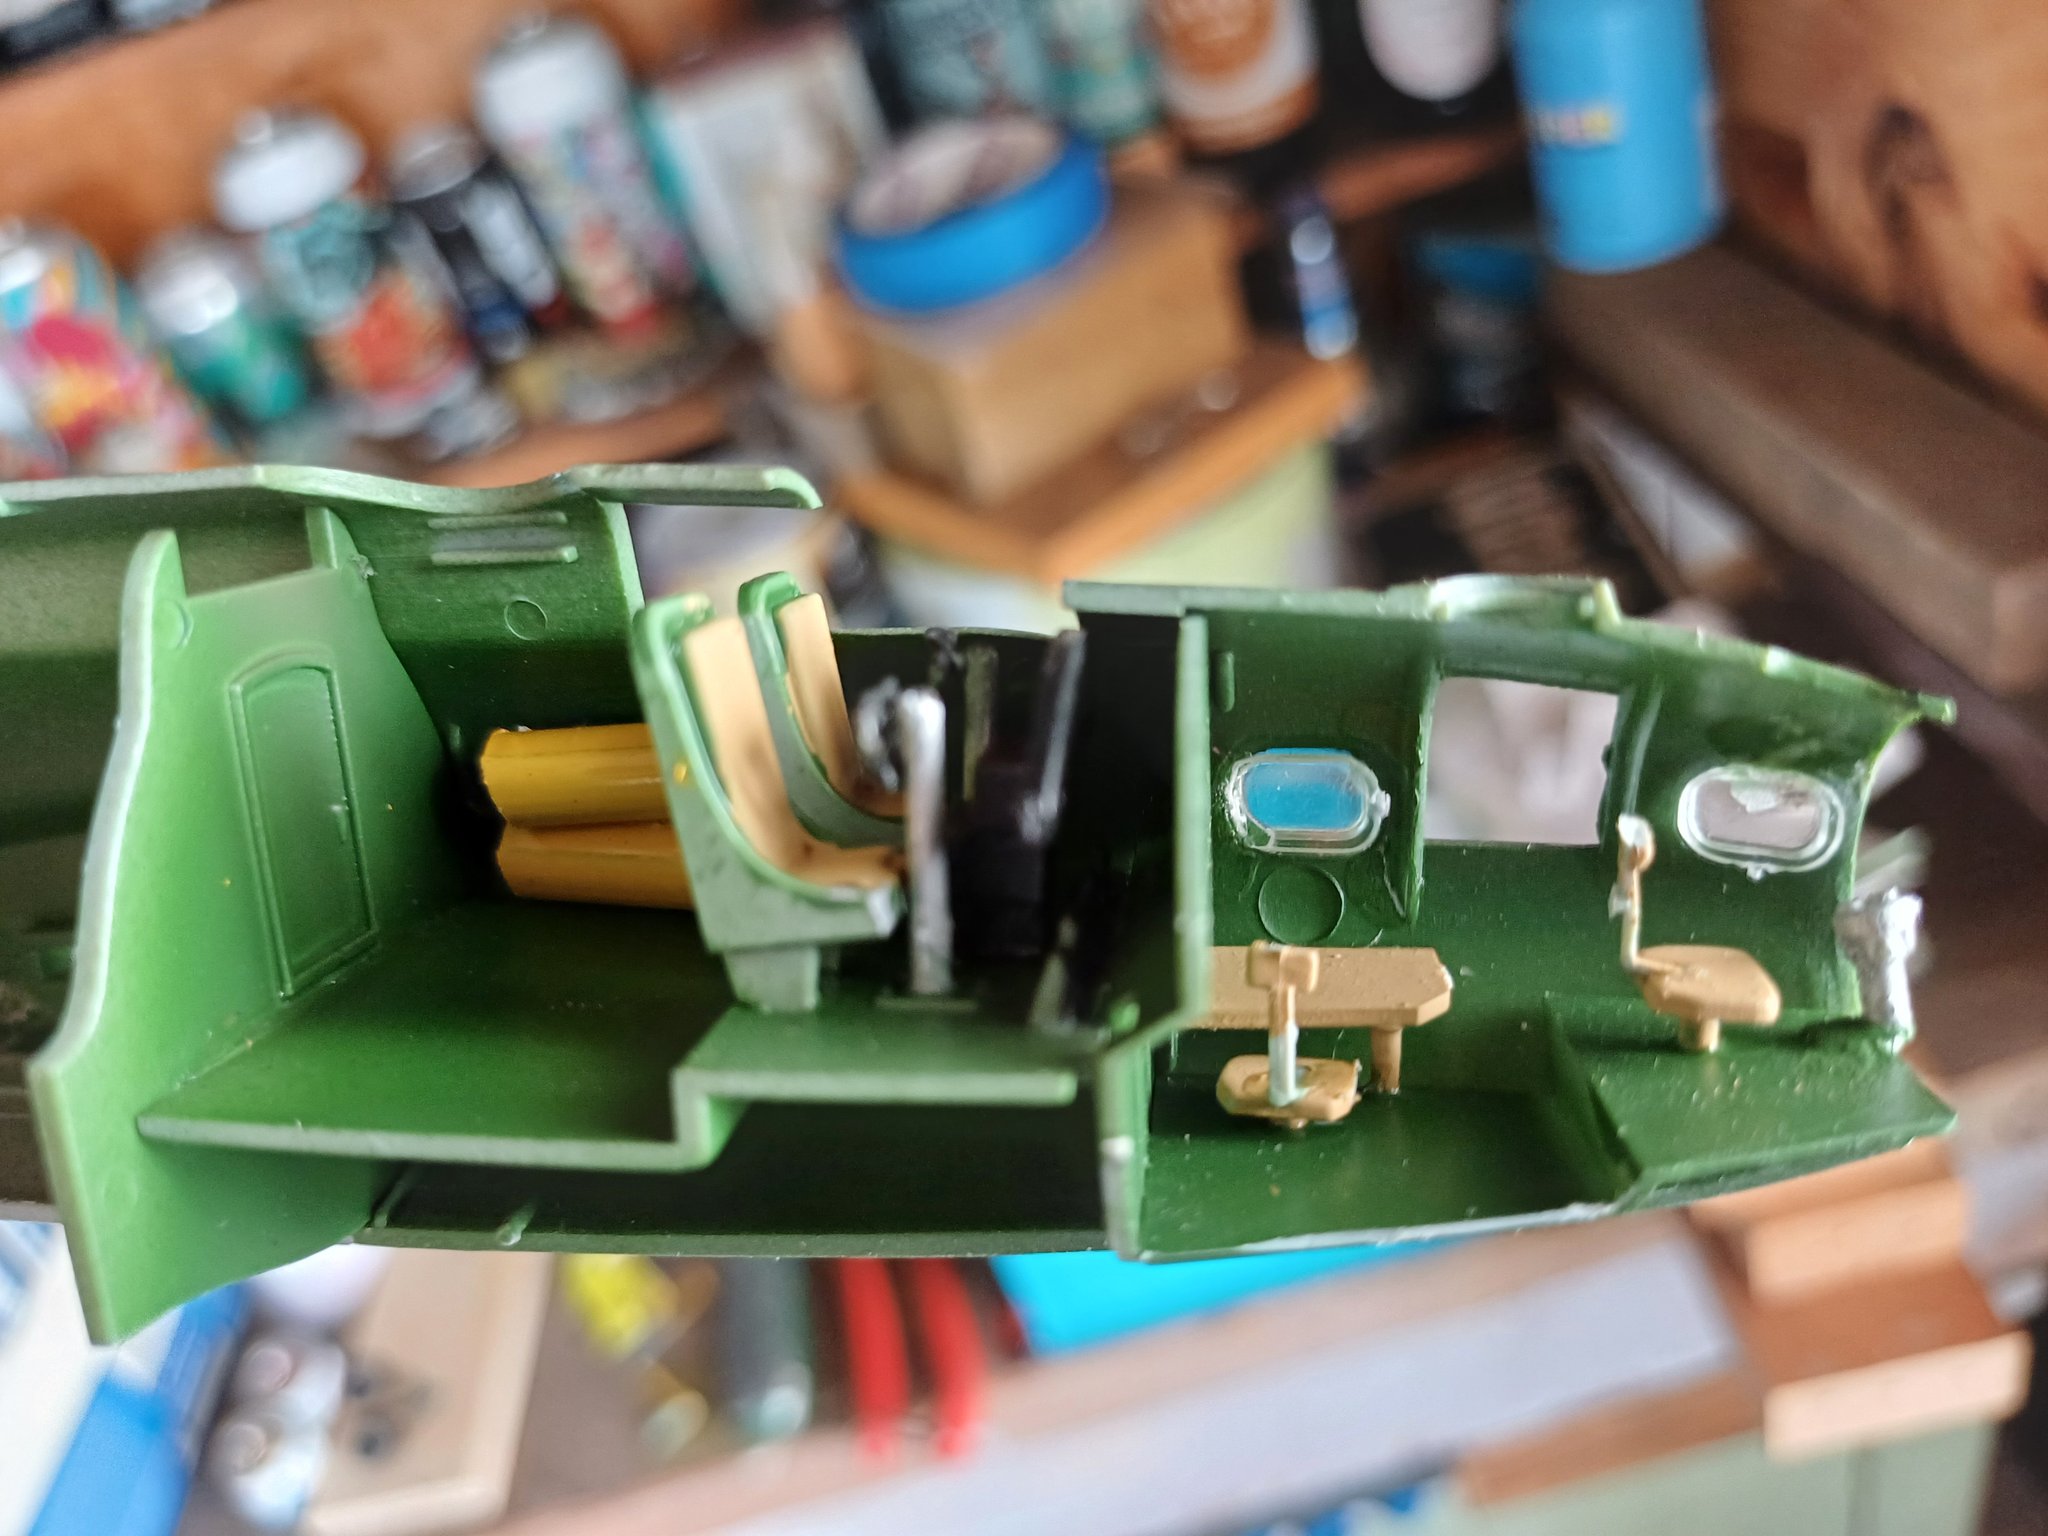
Despite several fiddly, tiny interior parts, I was able to complete the cockpit and navigator/bombardier nose sections without issue or any lost bits.

Image

I even “kitbashed” some cockpit oxygen tanks by cutting sprue pieces into short lengths and painting them yellow (above, left, just behind the pilots’ seats.)

Most remarkably, when I fitted and glued the two halves of the fuselage together (with all the bits and pieces, turning turrets, and interior details, there were few to no issues!

All glued together, painted and decaled the ‘Belle looked stunning!

You could even see the oxy’ tanks in the interior!

Up next was the B-17G.

The difference between the older Memphis Belle’s B-17F, and the B-17G was the newer G had a “chin turret” – A pair of co-axial 50 caliber machine guns remotely controlled by the plane’s Bombardier mounted under their big, conical aiming window at the front of the aircraft, under its “chin”.

I didn’t want to make these two big planes looking the same and, like the P51 Mustang the B17 really was blank canvas for paint schemes, variances and “nose art”.

Different groups, squadrons and units had different color combinations to help identify their own aircraft in the gigantic formations of bombers that flew over occupied Europe during the war.

The combination I picked actually came from a screenshot of the flight simulator “DCS”, with Gloss Aluminum fuselage, Matt Yellow tail and wingtips, Matt Red engine cowlings, and Olive Drab anti-glare nose top and in-board engine (so as to not blind the pilots from looking at bright, shiny aluminum.)

Once all the bits were put together, painted and decaled the B-17G looked absolutely stunning in its glossy metal finish

With the recent experience of building the Belle, (and already having painted/constructed most of the parts) this build went together even faster and easier.

These kits were a childhood dream, and a pleasure to build.

The only problem was finding somewhere big enough to display them…

Sink or Schwimmwagen

As an avid young scale modeler in the 80s/90s, one of the best parts of any year was when the Tamiya model catalog came out.

The catalogs featured new scale models, radio-controlled stars, and some of the most stunning dioramas ever captured on film!

(The smell from the dozens of full-gloss printed pages was guaranteed to keep your sinuses clear for months, or get you addicted to the smell of model glue and/or paint…)

One of the earliest, coolest dioramas I can remember was a WW2 German Volkswagen Schwimmwagen amphibious jeep fording a river.

I never had the skill to recreate the scene myself as a young one. But the more modeling I did and the different methods I had started trying recently gave me the confidence to try it out.

I bought a 1:35 Tamiya Schwimmwagen and Italeri Willy’s Jeep from my regular Napier model store, Cool Toys, and got to work

Image

This was going to be a bit of a higgledy-piggledy process, because there were going to be a few changes that I wanted to make, so I painted and glued together what I could initially without causing too much hassle down the line.

Image

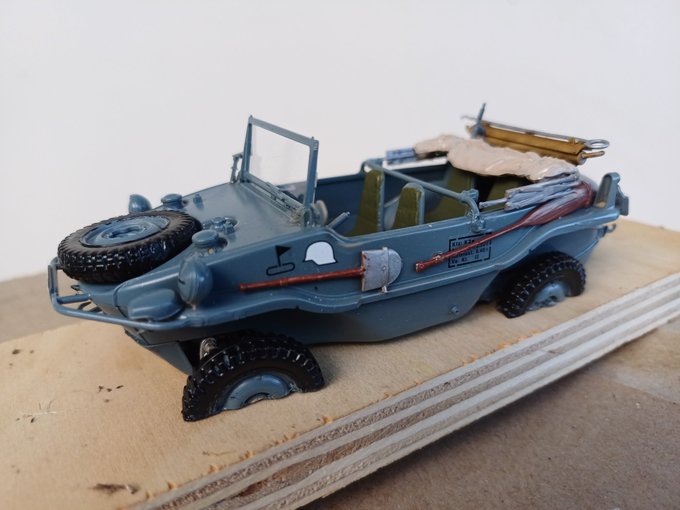
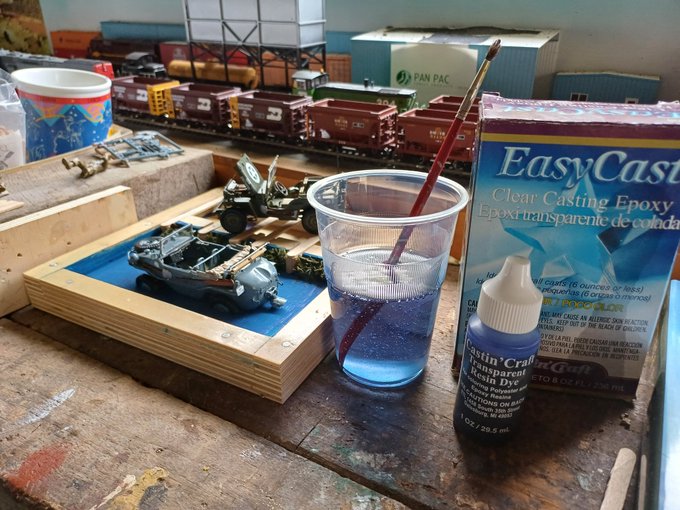
To make the Schwimmwagen look like it was…erm.. “schwimming” I either needed a lot of resin (which I didn’t have) to make a deep river or cheat a little by making the wheels a bit shallower.

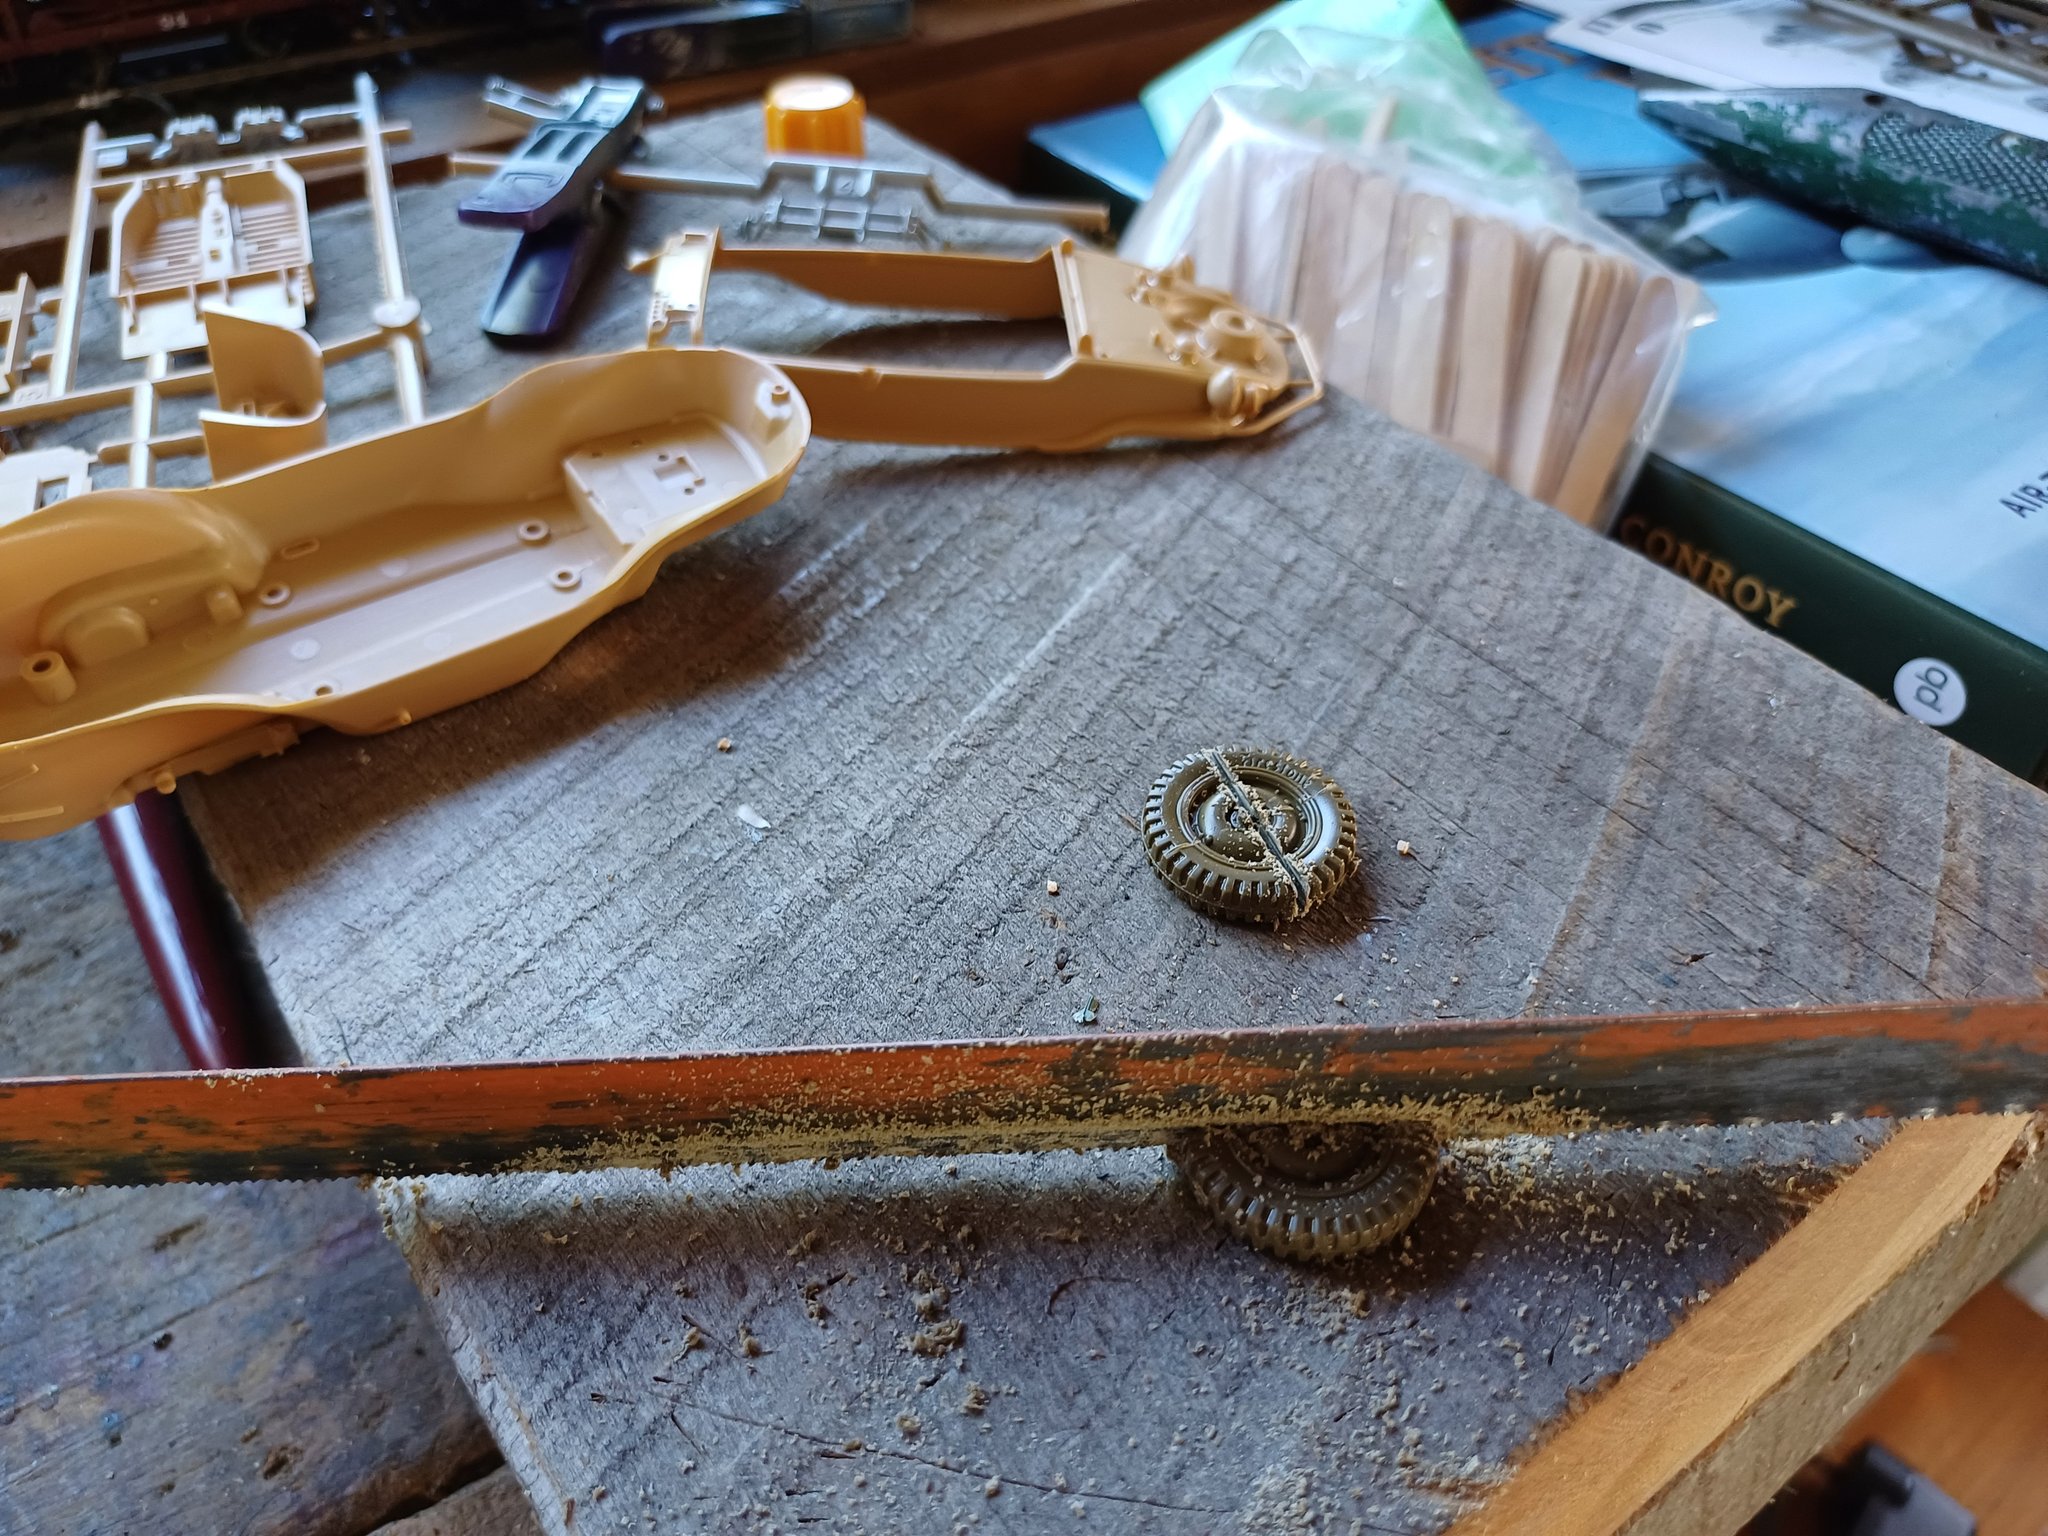
Fortunately the Jeep kit also came with a trailer I had no intent on building, but the spare two wheels (olive green, on top of the original sandy-colored Tamiya wheels, above) would certainly come in useful.

Rivet-counting model prototype purists may cringe, but I was working on the theory that very little of the wheels would be visible above “water-level”, so it didn’t matter so much.

Image

To make the Schwimmwagen sit flush with the base I was doing to pour the river into I had to do a bit of “kit-bashing”. This involved a hacksaw.

Image

With the kitset put together, painted and decaled it looked pretty great!

Now onto the Jeep!

Image

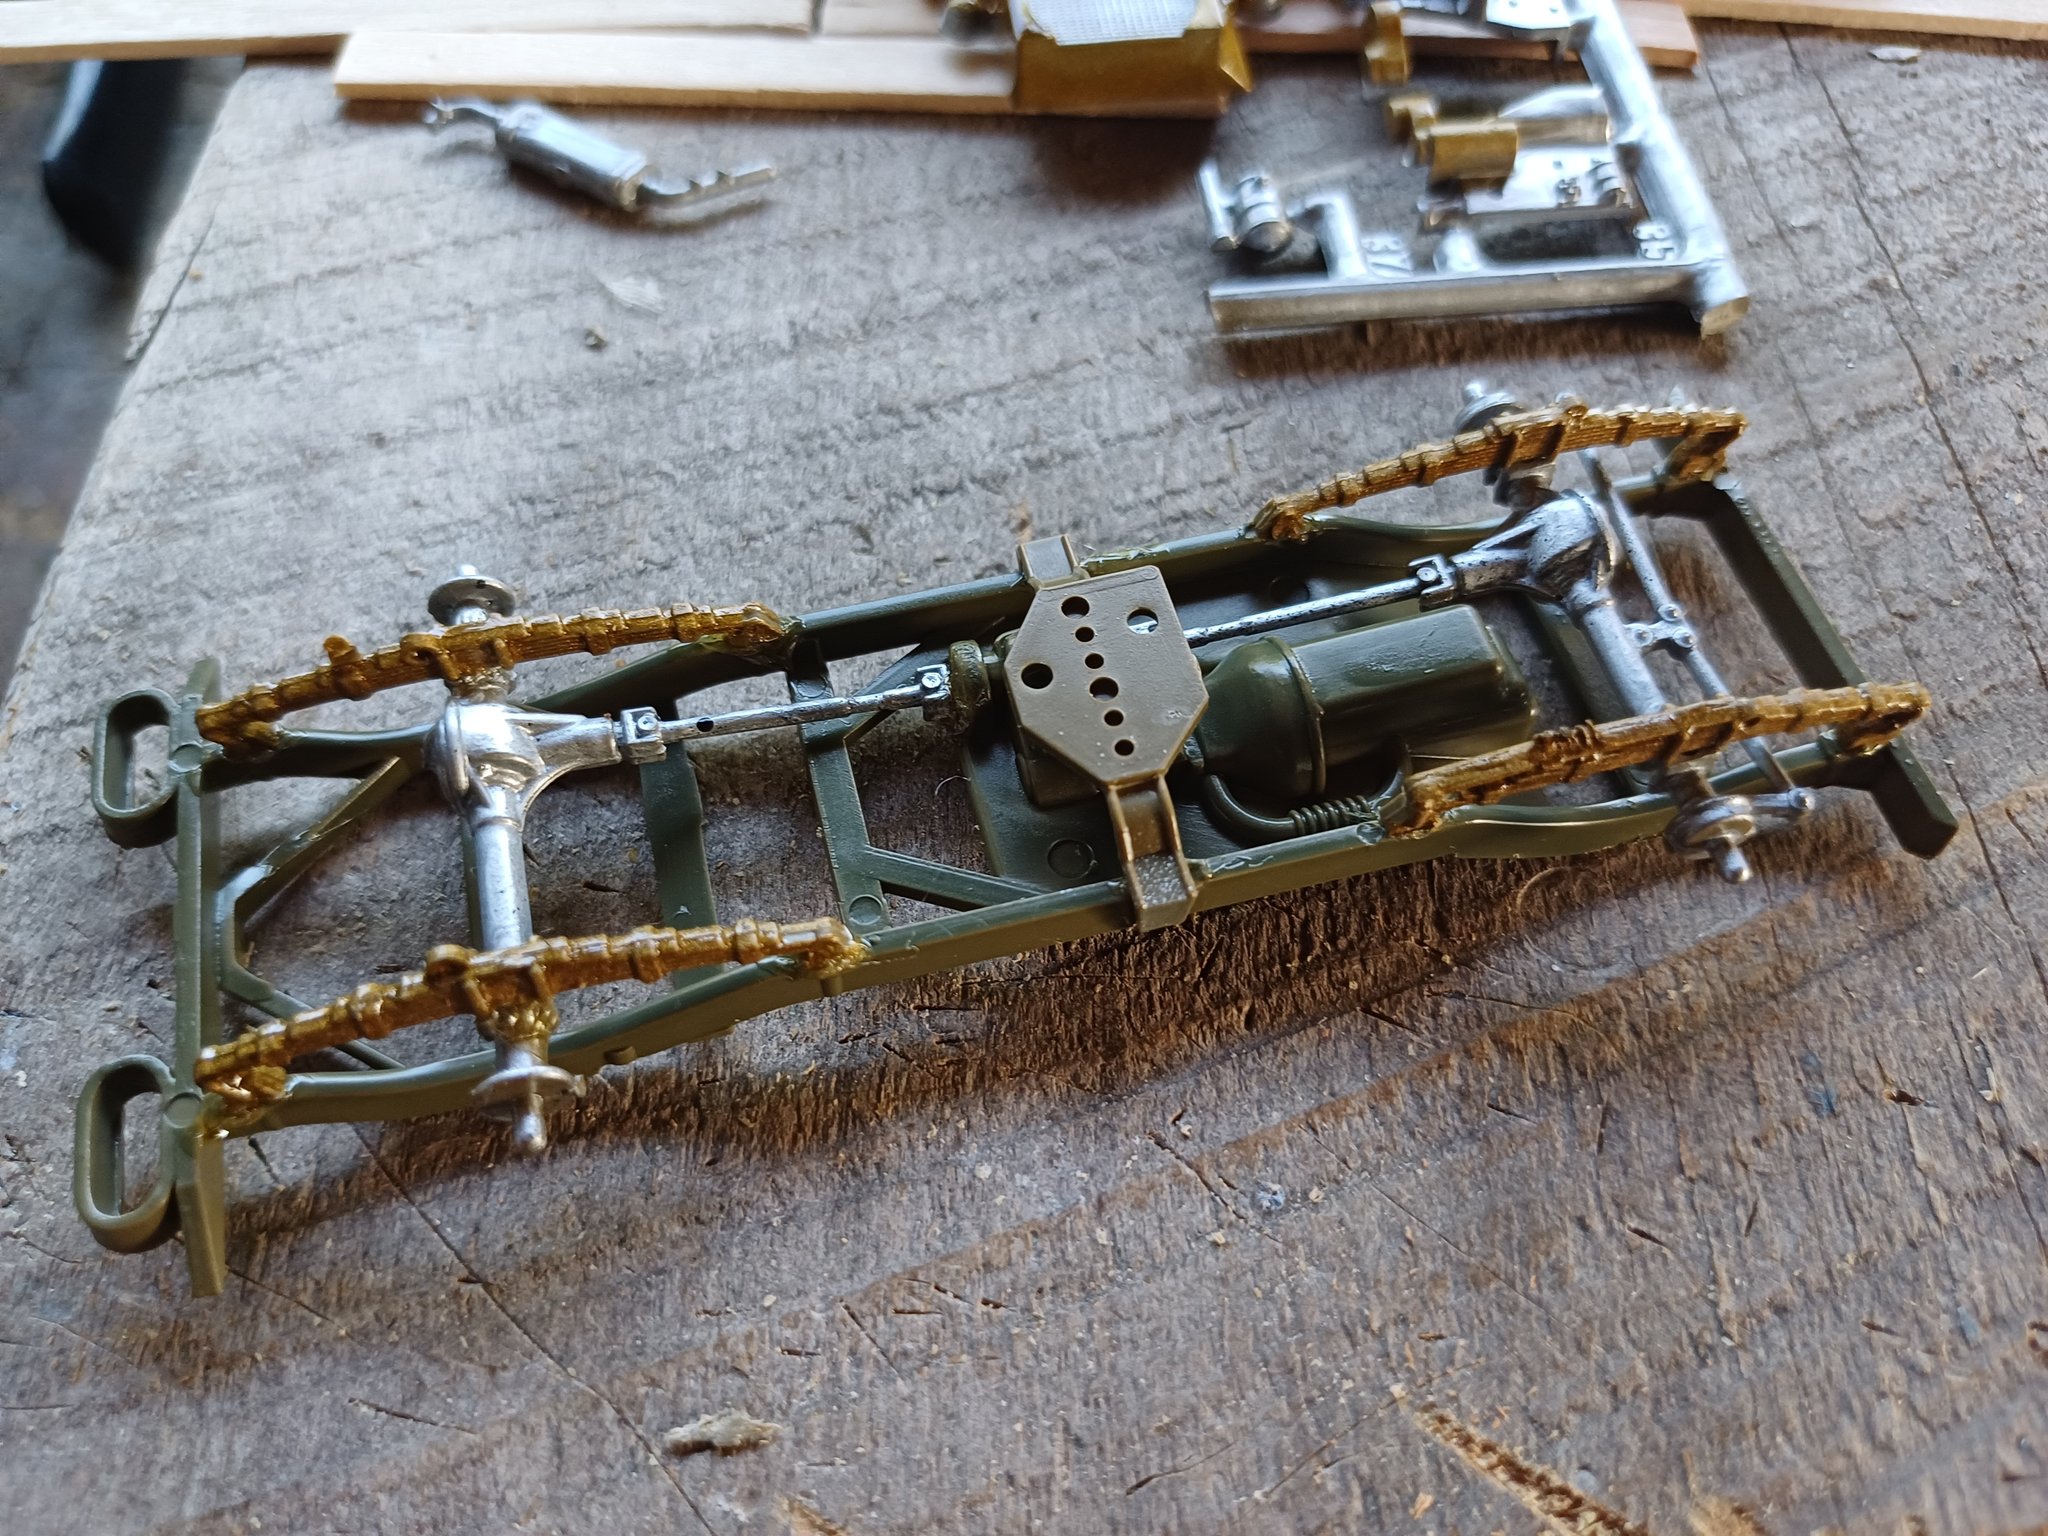
I painted most of the parts on their sprues and started with the chassis and suspension. With very few issues, aside from a couple of fit issues the kit came together quickly and easily.

Image

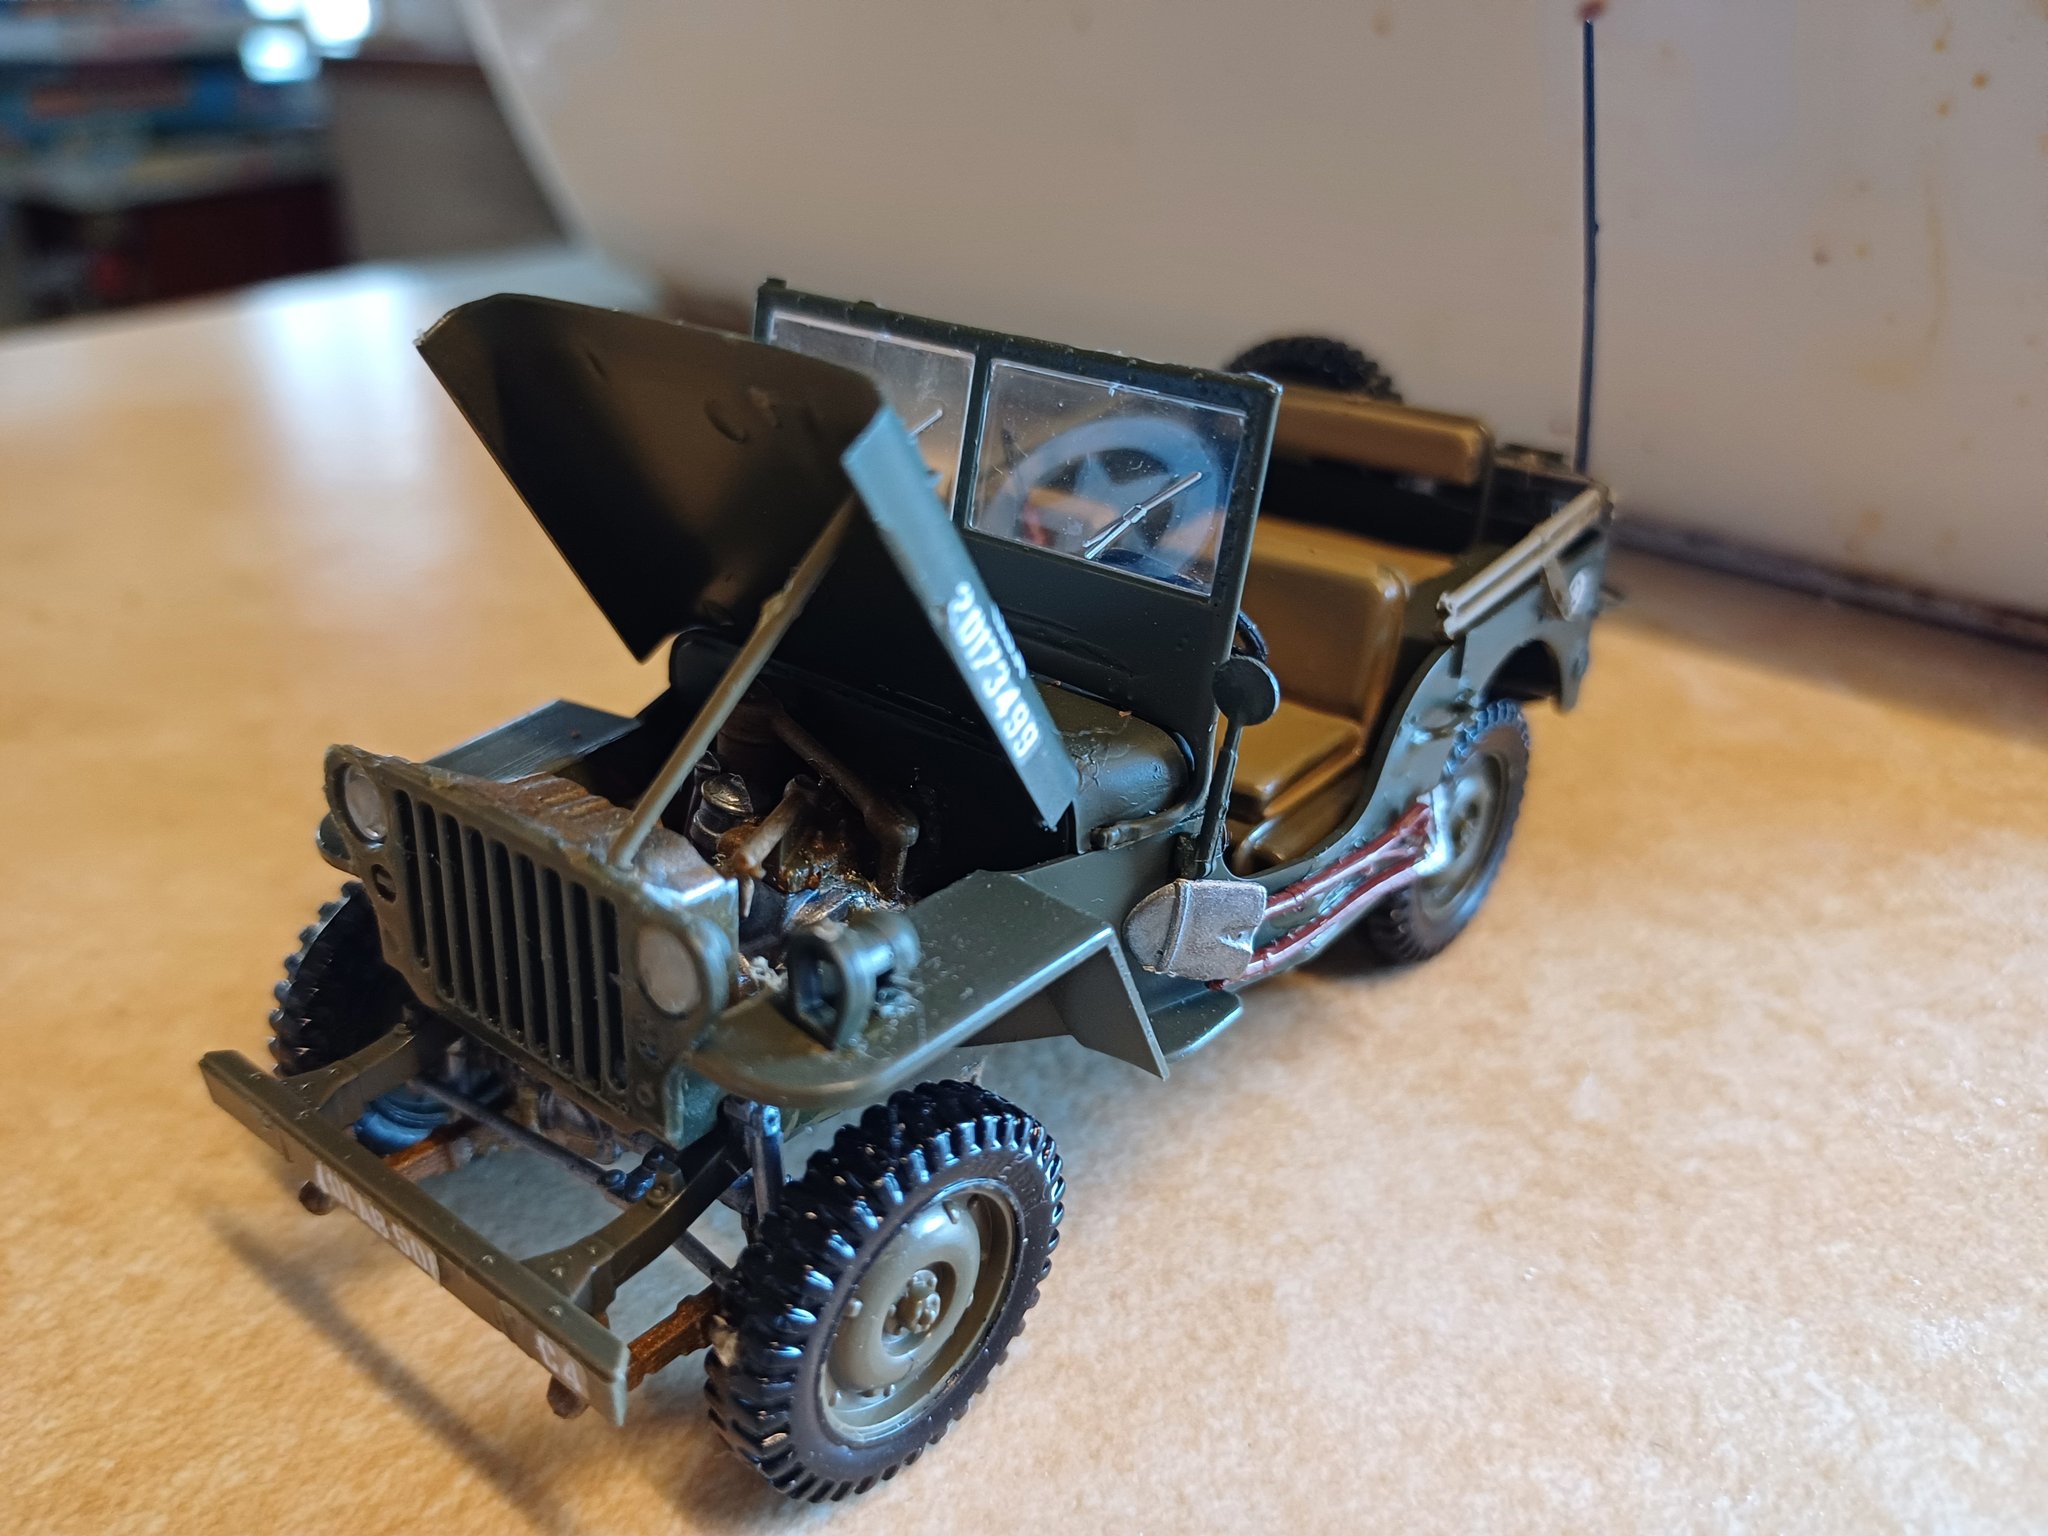
As part of the diorama, I intended the Jeep to have its hood up, possibly with a figure working on the engine, so I made a point of painting the engine, and detailing the engine bay a bit too.

With the kits completed I moved onto the base.

Image

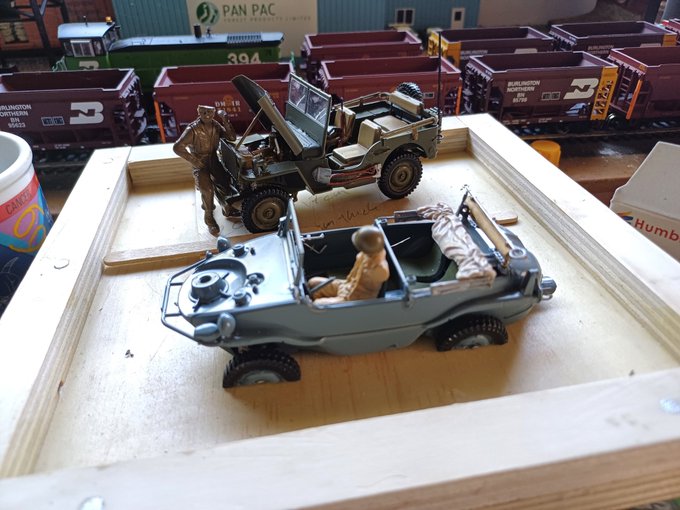
For my diorama I intended a purloined German Schwimmwagen to be cruising past a Jeep on a wharf with engine issues.

I made the base out of scrap plywood from the bat case I made last year.

I sealed and painted the “water” area, and prepared the “piled” wharf base.

Image

I got to use the remaining half of the resin I bought to make the sea for my “Spit in the Sea” diorama two years ago which had, very thankfully not gone off or hardened in the meantime, mixing the resin together and pouring it into the “lake” section.

The amount of resin I had filled the “lake” perfectly, right up to the level I wanted (this had required a bit of mathematics to figure out).

I left it for a couple days to harden properly.

Image

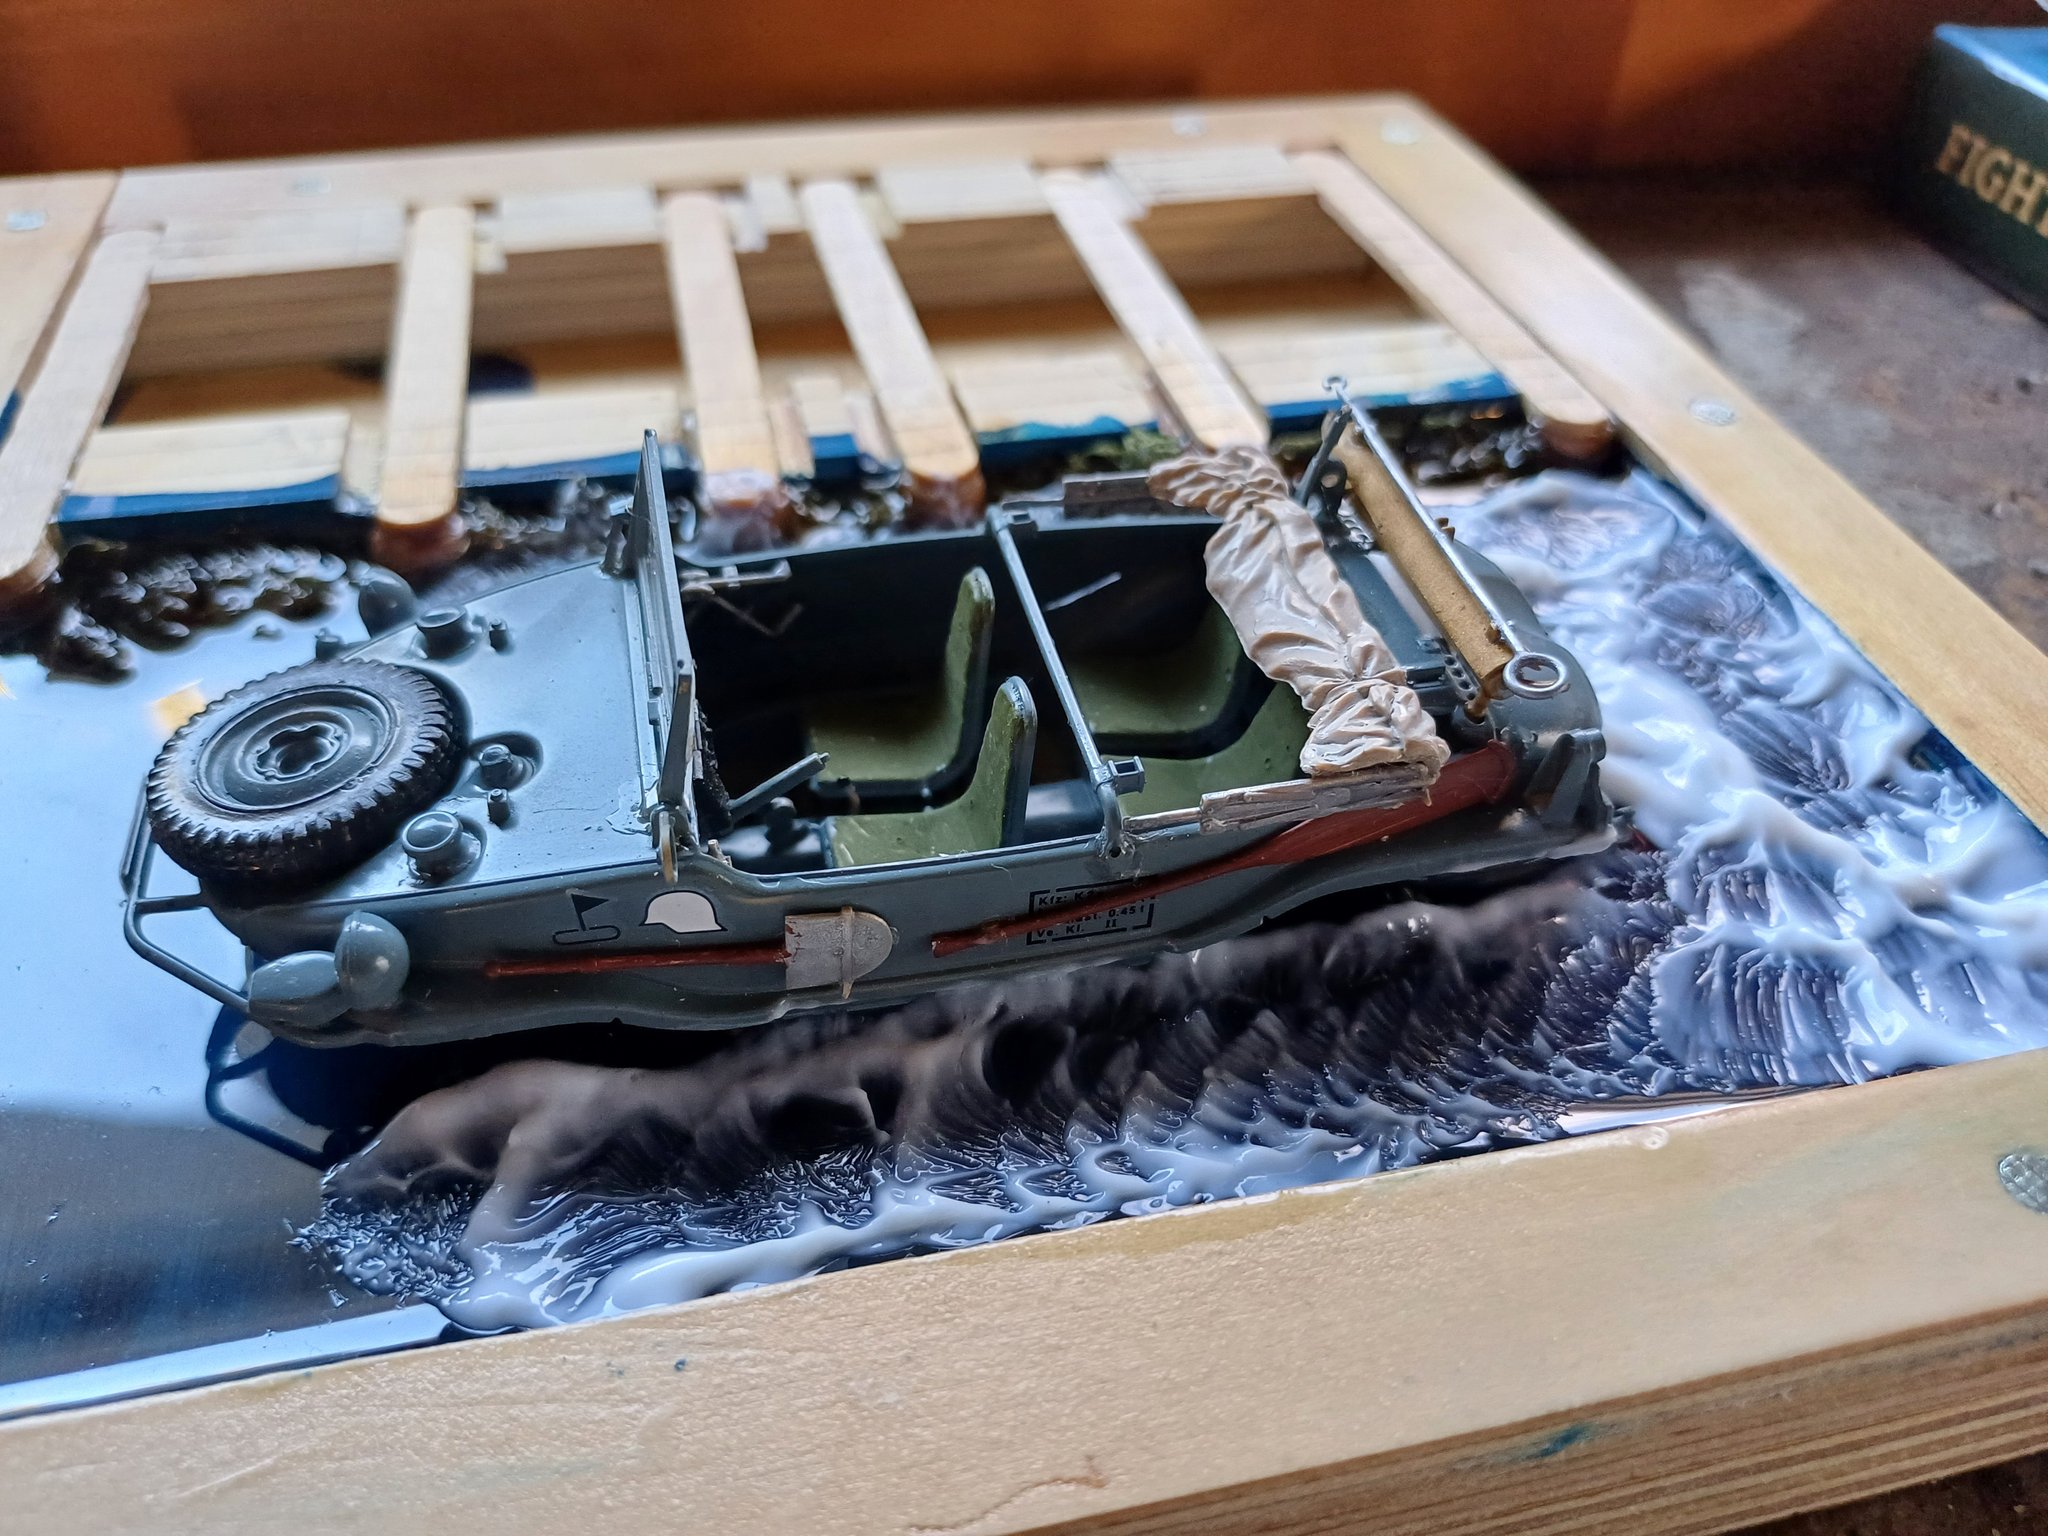
To give the Schwimmwagen a “wake” to give the impression it is motoring along I used gel medium (also from the “Spit in the Sea” diorama) to make some waves.

To make the wharf I cut dowel down into sections to make the front of the wharf and added some lichen “weeds” (neither of which are particularly visible, like the Schwimmwagen’s trailer wheels, but I know they are there…)

I layered popsicle sticks as bearers, then cut and placed more popsicle sticks at right angles to make the wharf’s planks.

It was fortunately far less fiddly than I feared.

I did a (VERY) basic paint job on the figures (the next skill I need to work), on and added a few bits of greenery just to break up the otherwise rather sparse wharf.

I completed it just in time to display them at this year’s Model Expo, along with the aforementioned Spitfire diorama, my “Inverted” Top Gun tube and the Valentine tank memorial I made.

It was really cool to recreate a dream diorama from my childhood, and the more models I make and more experienced and confident I get, the cooler the models become!

Next, I took to the skies!